
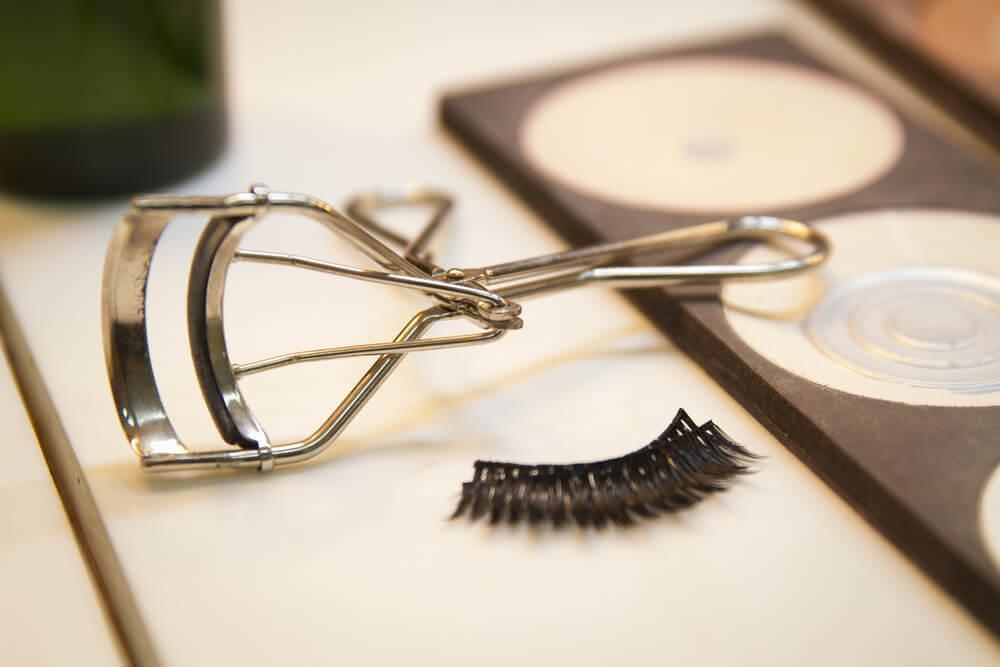
I have loved makeup since I was a little girl and I could draw perfectly straight eyeliner by the time I was 14. I loved makeup that much and I never really stopped learning new tricks. However, the one type of eyeliner look I had a really hard time with was the winged liner. There was just something about it that I found impossible to do. However, that did not stop me from trying to perfect it and finally, I found some really simple ways to do it and I cannot wait to share my technique with you.
 Winged Liner Tips
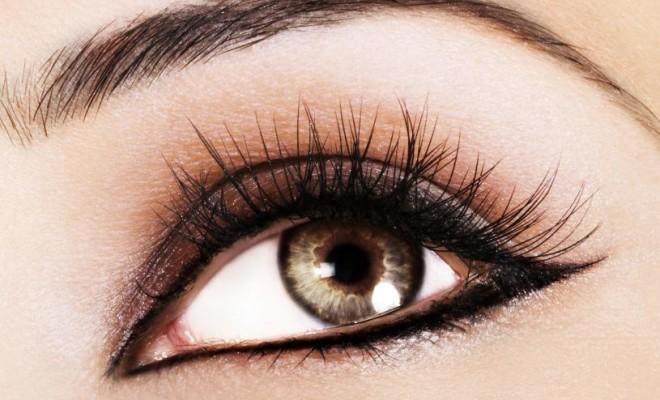
When people ask me how I do my eyeliner, I usually tell them that it takes a lot of care and practice and I am not kidding; these tips will make the winged liner easier but you have to practice if you are to get it right. Have a look at some of my tips below and practice, practice, practice until you get it right.
- The first thing you want to do is pick your eyeliner. If you want a bold and stark line, you will want to go for liquid eyeliner but if you want to go for a smokier look then gel liner or pencil liner is what you want to go for.
- Next thing you want to do is draw a line from the outer corner of your eye and slant upwards towards the end of your eyebrow. Try not to blink for a few seconds while the liner dries.
- Next step is to gently pull on your eyelid to create a smooth surface. Draw a line from the tip of the first line you drew and draw another line at a slight decline inwards. Try to work by segments instead of creating one continuous line.
- If your eyes are wider, bring the line to the inner corner of the eye. Fill in the space with eye liner.
 Do not worry if your line is less than perfect; all you need is some eye-makeup remover and some q-tips to remedy the problem.


Leave A Comment