
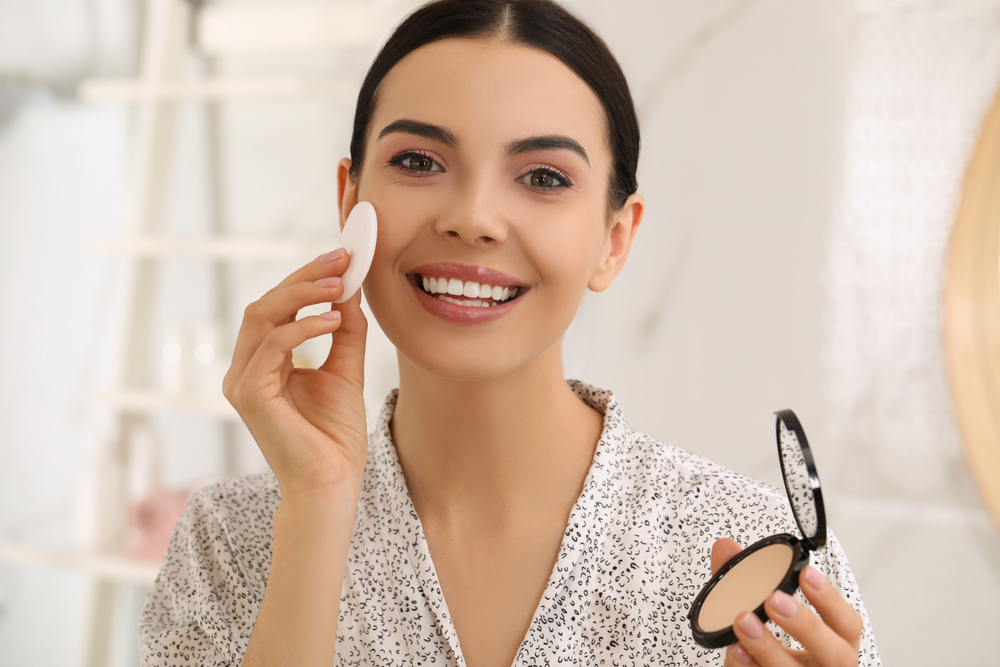
Let’s get one thing straight: applying makeup in the wrong order isn’t just an aesthetic crime — it’s a structural one. You wouldn’t build a house starting with the roof. So why are so many of us slapping on highlighter before primer and wondering why our faces look like a melting wax sculpture by noon?
If you’ve ever wondered why your foundation looks patchy, your concealer creases within the hour, or your contour just… disappears — the answer is almost always the same. You’re not following the right makeup order step by step. And we’re here to fix that.
Why Makeup Order Steps Actually Matter
Think of your face like a canvas — a very high-maintenance, occasionally temperamental canvas. Each product is formulated to work on top of something specific. Primer grips bare (or moisturized) skin. Foundation grips primer. Concealer can go over or under foundation, depending on what you’re doing. Setting powder locks everything in place.
When you ignore this sequence, you’re essentially asking your setting spray to hold together chaos. Products pill, separate, or straight-up slide off because they’re sitting on a surface they weren’t designed for. The correct makeup order step by step isn’t arbitrary beauty-influencer gospel — it’s chemistry.
Step 1: Skincare First (Yes, This Counts)
Before a single makeup product touches your face, your skin needs to be prepped. We’re talking cleanser, toner if that’s your thing, serums, moisturizer — the full routine. Why does this matter here? Because makeup performs dramatically differently on dehydrated skin versus plump, prepped skin. These skincare products from Celestolite are ideal for a pre-makeup routine.
Allow your moisturizer to fully absorb before moving on. Two minutes. Set a timer if you have to. This patience will pay dividends.
Step 2: SPF
Non-negotiable. SPF goes on after moisturizer but before any makeup. This is the step most people skip, delay, or mix haphazardly into their foundation — which, for the record, does not work. You need SPF applied directly to the skin as a complete, even layer to get any actual sun protection out of it.
Once your SPF has had a moment to settle (another minute or two — yes, really), you’re ready for makeup.
Step 3: Primer
Primer is the bridge between skincare and makeup, and it is absolutely doing more than you give it credit for. A good primer fills in pores, smooths texture, controls oil, extends wear time, and gives your foundation something to actually cling to.
Different primers do different things, so match yours to your skin type and goals. Silicone-based primers are great for smoothing. Water-based primers work well for layering over hydrating skincare. Mattifying formulas are a dry-skin-on-oily-skin person’s best friend.
Give your primer a full minute to set before moving forward. This is part of the makeup order step by step that people consistently skip — and then they wonder why their foundation looks uneven by mid-morning.
Step 4: Color Corrector (If You Use One)
Color correctors go under foundation, not over it. This is a point of genuine confusion for a lot of people. If you’re using a peach or orange corrector to neutralize the look of dark circles, or a green corrector to cancel the visibility of redness, it needs to go on before you build any coverage over it.
Apply just to the areas that need it, blend it out, and then proceed. The corrector should essentially disappear under your foundation — that’s how you know you’ve done it right.
Step 5: Foundation
Now we’re talking. Foundation goes on after primer (and color corrector if applicable), and this is where you’ll start to see everything come together. Apply it with whatever tool suits your formula — brush for sheer and buildable, damp sponge for a seamless full-coverage finish.
Blend outward toward your hairline and jaw. Don’t forget your neck exists. The shade-matching and blending skills you build here will do more for your overall look than any single product you own — a point that gets underscored brilliantly in our roundup of celebrity beauty secrets, where the through-line from every MUA interviewed is foundation technique.
Step 6: Concealer
Here’s where the debate gets spicy. Concealer can go before foundation — particularly if you’re doing a lighter coverage look and don’t want to mattify your under-eyes. But in a standard full-coverage routine, concealer goes after foundation.
Why? Because your foundation will cover a significant portion of what you were planning to conceal anyway. Putting on concealer first, then covering it with foundation, then re-applying concealer is… a lot of extra product for the same (or worse) result.
Under-eye concealer is its own art form. Use a shade one to two tones lighter than your foundation, apply in a triangle shape pointing down toward your cheekbone, and blend upward. This is technically a highlighting technique — and speaking of which, our guide to everything you need to know about strobing is a great companion read for anyone interested in using light and shade strategically.
Step 7: Contour, Bronzer & Blush

This is where your face gets its dimension, warmth, and life — roughly in that order. Cream formulas go on before powder, always. So if you’re using a cream contour stick or a cream blush, apply them now while your foundation is still slightly tacky and blendable.
Powder bronzer and blush come a step later (post-setting powder), which we’ll get to in a moment.
Step 8: Setting Powder
Setting powder locks in your base — foundation, concealer, any cream products — and prevents creasing, oxidizing, and general mid-day chaos. Bake under your eyes if you like (set a heavy layer, let it sit for a few minutes, then dust off). Use a light hand everywhere else.
Translucent powder works for most skin tones. Tinted powders can add coverage. Just don’t overdo it — too much powder is how you end up with a cakey, aging finish that no amount of setting spray will save.
Step 9: Powder Bronzer, Blush & Highlight
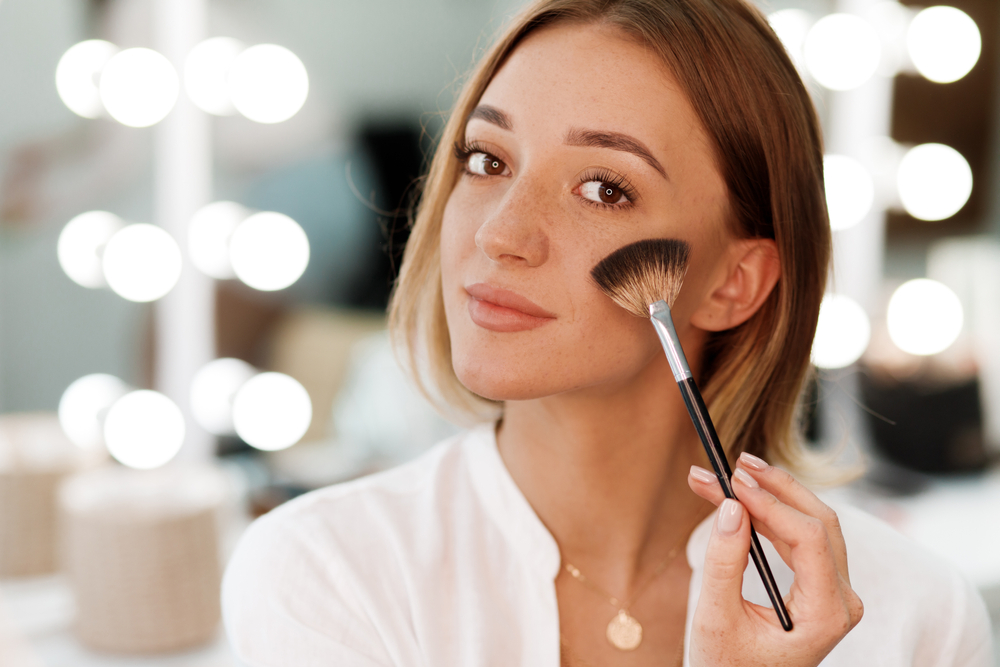
Now that your base is set, your powder products can go on. Bronzer first (it’s your most diffused, all-over warmth), then blush on the apples of the cheeks and up toward the temples, then highlight on the high points — tops of cheekbones, brow bone, inner corner of the eyes, and the tip of the nose if you like.
Highlighter is where a lot of people go rogue and apply it at the completely wrong moment in the sequence. It should be one of the last things on your face, not second. It’s a finishing product, not a base layer. This is the kind of makeup order step by step detail that separates a polished look from a confused one.
Step 10: Eyes & Brows
Here’s another common point of contention: some makeup artists do eyes first to catch fallout from eyeshadow, then clean up and do their base. That’s a totally valid approach, especially for dramatic eye looks.
But in a standard routine, eyes and brows come after your base is set. Do your eyeshadow, liner, and mascara in that order. Brows can go before or after eyeshadow — most people find it easier to do brows first as an anchor point for the eye look.
For anything lash-related — whether it’s drama or subtlety you’re after — our guide on how to choose the perfect lashes for your eye shape will make your life considerably easier.
Step 11: Lips
Lips go last. Or near last. Line, fill in with liner if you want the look to last longer, then apply lipstick or gloss. Blot, reapply if desired.
If you’re a nude lip person, you already know how tricky the wrong nude can look. Our piece on how to wear nude lipstick covers exactly how to find a shade that works with your skin tone, rather than washing you out or reading weirdly warm.
Step 12: Setting Spray
And finally — setting spray. This is the step that ties everything together, melts away any powdery finish, and tells your makeup that it is staying put for the rest of the day. One to three sprays from about 12 inches away, let it dry naturally, and you’re done.
The Full Makeup Order Step By Step: A Quick Reference
Here’s the makeup order step by step cheat sheet for a complete look:
- Skincare (cleanser → toner → serum → moisturizer)
- SPF
- Primer
- Color corrector (if needed)
- Foundation
- Concealer
- Cream contour/blush (if using cream formulas)
- Setting powder
- Powder bronzer → blush → highlighter
- Eyeshadow → liner → mascara → lashes
- Brows
- Lips
- Setting spray
Follow this sequence, and you’ll spend less time touching up, less money re-buying products that “don’t work,” and significantly less time interrogating your mirror at 3 pm, wondering where your face went.
The correct makeup order step by step isn’t about being rigid — it’s about understanding why each product goes where it does, so you can make smart adjustments when you need to. And now you do.
Want more beauty tips and product breakdowns? Explore our full Makeup and Skin Care categories.





Leave A Comment